
Giving gifts is one of the best things about the Christmas season. But it can also make things stressful if you’re not careful. Instead of caving under the pressure to buy that “perfect gift” for everyone on your list, give yourself permission to think differently.
Some of the best gifts you can give are simple (and cheap) do-it-yourself projects. Bonus: DIY Christmas gifts usually mean a lot more to the person receiving them than a run-of-the-mill present from the store. They know and value the work, time and effort you had to put in to make that DIY gift.
So, put on your creative hat and get to crafting! Here are 15 easy and affordable DIY Christmas gifts you can give that are sure to be a hit.
15 DIY Christmas Gifts for Every Budget
One quick note before we start: You probably already have a lot of the materials you’ll need for these gift ideas (things like olive oil, a hammer, baking soda and pencils) lying around your house, so we didn’t account for them in our cost estimates. If you don’t have any of those common household items, that’s A-OK—but you’ll wind up paying a little bit more for materials than what we put in our estimates.
1. Handprint Ornaments
Looking for a DIY gift that grandparents are going to love? A handprint ornament is the perfect choice. Imagine the smile on Nana’s or Papaw’s face when they get a keepsake with a special touch from their favorite kiddos.
Items you’ll need:
- Clear bulb ornaments
- White acrylic paint
- Small paintbrush
- Permanent markers
Here’s how to do it:
Have your kids paint their palms with the white acrylic paint. Then, have them press their handprint onto one of the ornaments. (You may have to help them out with this part since they could get paint all over the ornament by picking it up themselves.)
Once the handprints dry, your kids can use permanent markers to draw festive designs onto their handprints, or they can leave them blank. Either way, be sure to write your child’s name and the year somewhere on the ornament.
Estimated cost to make: $10 for eight ornaments
2. Printed Digital Download
Need a last-minute gift? We’re talking really last minute here. Head on over to a site like Etsy and buy the digital file of an image you can slap in a frame. Have a Star Wars fan in your life? Buy a digital watercolor image of Luke Skywalker dueling Darth Vader. Pop that iconic image into a frame and you’ve got a one-of-a-kind gift on your hands. Bonus: You’re shopping small and giving that Etsy creator some business too. Win-win.
Items you’ll need:
- Printer
- Cardstock or glossy paper
- Picture frame
Here’s how to do it:
Buy a digital download of the image you like and download it to your computer. Print it at home or using an online printing service. Place the image in a picture frame and you’re all set.
Estimated cost to make: $10–15 (depending on the size of the print)
3. Pressed Flower Candle
It’s simple, it looks nice, and your mom will be so proud of you. And even better? It’s pretty cheap and oddly relaxing to make.
Items you’ll need:
- Tall round candle
- Pressed flowers (order online or pick your own)
- Tea light candle
- Matches
- Small paintbrush
Here’s how to do it:
Start budgeting with EveryDollar today!
To get started, light up the tea light candle. You want the candle to melt the wax around the wick (you’ll be using that as your “glue”). Then, place a pressed flower on the tall round candle, dip your paintbrush in some candle wax, and paint over the flower to get it to stick to the big candle. Keep going until all your flowers are on the candle. The final step? Be sure to let all the wax dry on the candle to seal in the flowers.
Estimated cost to make: $15–20 (less if you find your own flowers)
4. Bath Bombs
Have you heard about the bath bomb craze? These little guys make the perfect DIY gift for any age! After all, who can resist the idea of a relaxing, fizzing bath to wash the day away?
Items you’ll need:
- 1 cup baking soda
- 1/2 cup Epsom salt
- 1/2 cup citric acid
- 1 teaspoon olive oil
- 1 teaspoon water
- 5 drops food coloring (optional)
- 10–15 drops essential oil or fragrance (optional)
- Large mixing bowl
- Small mixing bowl
- Silicone molds or muffin tin
Here’s how to do it:
Mix the dry ingredients in a large bowl and the wet ingredients in a small bowl. Then, combine both mixtures together in the larger bowl. This will create a damp sand mixture. Take that mixture and press it into your silicone molds or muffin tins. Make sure you really pack it down. Let your bath bombs dry overnight and be sure they’re 100% dry before you try to pop them out.
When you’re ready to gift the bath bombs, place them in mason jars or shrink-wrap bags and tie on a cute ribbon as the final touch. It’s a great DIY Christmas gift your friends can use to relax all winter long.
Estimated cost to make: $5 for five small bath bombs
5. T-Shirt
No, you don’t have to bust out the iron-on patches for this one. Did you know there are plenty of places online that will let you make your own T-shirt? And you don’t have to buy them in bulk either. Check out online shops like Teespring that let you design your own shirt. You can slap on a favorite quote, inside joke or even an image, and ta-da—you’ve got a personalized T-shirt ready for gifting!
Estimated cost to make: $15-20
6. Tied Fleece Blanket
What does everyone need during the wintertime? Blankets! Give the gift of staying warm and cozy this Christmas. You can make your own blankets for friends and family—no sewing skills required.
Items you’ll need:
- 1 1/2 yards of printed fleece
- 1 1/2 yards of solid-colored fleece
- Scissors
Here’s how to do it:
Spread one layer of fleece out on the floor and place the other fleece directly on top of it. Whatever side faces out is the side you’ll see when it’s done. Use the scissors to trim both pieces of fabric to the same size. Then, cut 3-inch slits into both pieces of fabric at about an inch apart (hold it together like a sandwich). Do this around the entire outer edge of the square of fabric.
Now all you have to do is tie the top section to the bottom section. This will create a lot of knots as you go around the blanket. Double knot it tightly. Once you’re all done, toss the blanket into the wash with some fabric softener to make it extra comfy.
Estimated cost to make: $5–10 (Make sure you buy your fleece from a craft store that will let you buy it in smaller lengths—you don’t need enough to cover a football field!)
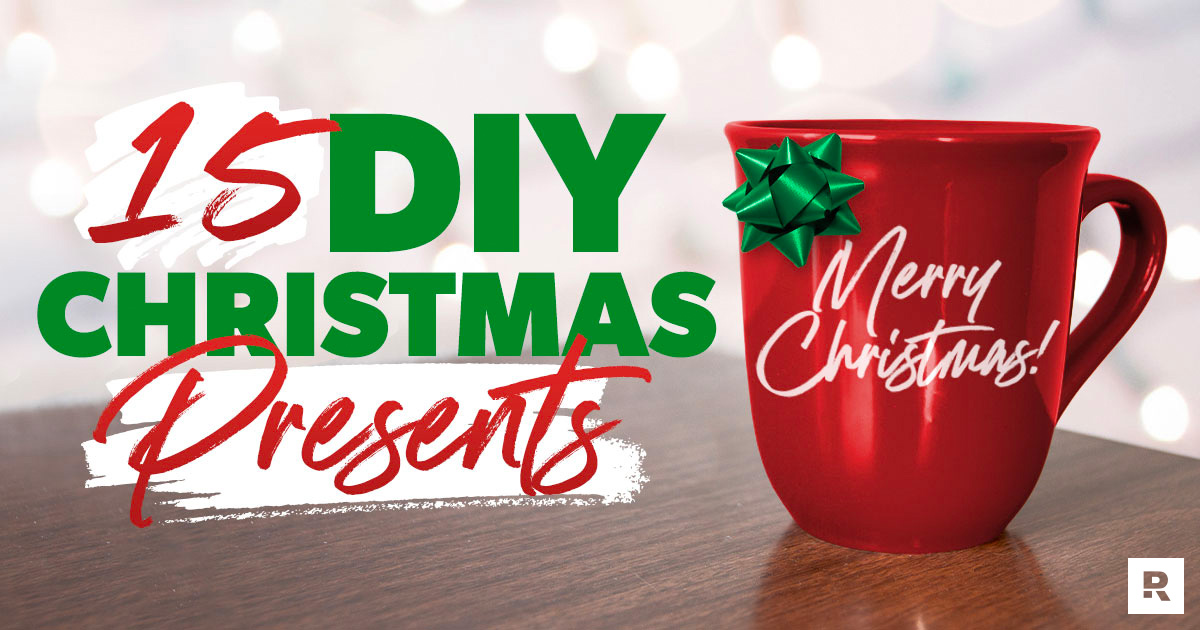
7. Personalized Mugs
Whether your warm beverage of choice is a piping hot spot of tea or cup of java, we’re all united by one thing: the need for a creative mug. So why not customize a mug for your friends and family? The decorating options are endless here.
Items you’ll need:
- Blank mug
- Transfer paper
- Pencil
- Printer paper
- Oil-based permanent marker (being oil-based is key for making the mug dishwasher safe—or tell your giftee to just hand-wash it if you want to be extra safe)
Here’s how to do it:
First, pick a design for the mug. If you’re an artist, you can create your own masterpiece. But if you’re a crafting rookie, a simple witty quote might be all you need.
If you have a specific design in mind, print it out. Tape the design to the top of the transfer paper and tape the transfer paper to the mug. Make sure that the messy-looking side of the transfer paper is touching the mug and that the clean side is facing up. Using the pencil, trace over your design. This will transfer it to the mug.
Next, remove the paper and trace over that design on the mug with the oil-based permanent markers. Go slow! This step will take a lot of patience on your part. But don’t worry if you mess up—you can clean up any mistakes with soap and water. Be sure to let the design dry for 24 hours.
The next day, set the oven to 350 degrees F and place the mug upside down (so it won’t tip over) in the oven. Bake the mug for 30 minutes. Turn the oven off, but leave the mug inside to cool before removing it. The mug is ready after it’s cooled completely.
Estimated cost to make: $10–15
8. Jewelry
It’s time to make your own jewelry. (Look out, Etsy!) And guess what? It’s not as hard as it sounds. It might even be one of the easiest DIY Christmas gifts on the list. Just hit up your local craft store and buy the pieces you need. With a little creativity, you can make necklaces, bracelets and earrings for the whole family! Here’s how to make some simple tassel earrings.
Items you’ll need:
- Embroidery string
- Hoop earrings
- Scissors
Here’s how to do it:
Pull from the embroidery string and cut six equal parts about 5 inches in length each. Then, you want to fold one of the groups of string in half (this should make a loop on one end). Next, lay the loop over the bottom of the hoop earring. Thread the two open ends of the string through the loop and pull it tight. This should create a knot tying the string to the hoop and leaving a tassel dangling at the bottom. Make sure you connect it tightly and then trim the tassel if you need to.
Estimated cost to make: $5
9. Photo Coasters
Instead of letting all those family memories sit in the camera roll of your phone, put them where they really belong. Up on the walls? Nah. On a coaster for the coffee table! Your gift recipient is sure to like this thoughtful (and practical) way to keep the memories alive—while saving their table too.
Items you’ll need:
- Foam brush
- Mod Podge
- Ceramic tiles or old coasters
- Photos
Here’s how to do it:
Gather up some old coasters from your den or local thrift store, or swing by the hardware store to grab some ceramic tiles. Pick out the photos you want to use. Make sure to cut them to the right size for your coasters. Use a foam brush to spread Mod Podge on the back of the photo and put it on the coaster or tile. Let it dry for about 30 minutes.
Then, cover the photo and coaster/tile in a single layer of Mod Podge, and let it dry for an hour. Repeat this step two or three more times, and let it dry for at least 24 hours or until it doesn’t feel tacky when you touch it.
Estimated cost to make: $10
10. Homemade Caramel Sauce
Everyone loves a good food gift, especially when it’s a sweet treat! This one’s super simple.
Items you’ll need:
- 1 cup brown sugar
- 4 tablespoons butter
- 1/2 cup half-and-half or cream
- 1 tablespoon vanilla
Here’s how to do it:
Put all those ingredients into a medium saucepan, and cook over medium-low heat for 5–7 minutes. While you’re cooking, be sure to whisk the sauce until it reaches the level of thickness you want. If the sauce is too thin after 7 minutes are up, just keep cooking until it gets thicker.
Once the sauce is ready to go, divvy up your batch into smaller containers so you can give them out to friends and family.
Estimated cost to make: $5–10
11. Hot Chocolate on a Stick
Who doesn’t love hot chocolate? Here’s the perfect way to gift some without wrapping up an entire box of Swiss Miss. This DIY method shows that you took the time to make a gift by hand—bonus points for you! And it’s a tasty way to share some warmth (and chocolate) this Christmas.
Items you’ll need:
- Chocolate chips
- Wooden lollipop or popsicle sticks
- Assorted toppings (candy cane crumbs, sprinkles, marshmallows, etc.)
- Ice cube tray
- Double boiler or saucepan and heatproof mixing bowl
- Decorative plastic wrap
Here’s how to do it:
First, gather up your toppings of choice. Place them in the bottom of the ice cube tray. Next, melt the chocolate in a double boiler. Don’t have one? No problem! Just take a saucepan or pot and put a tiny amount of water in it. Let it simmer on low heat, then put the chocolate chips in a small, heatproof mixing bowl on top of the saucepan. Keep stirring until the chocolate chips melt.
Once the chips have completely melted, pour the chocolate evenly into the ice cube tray. Add the wooden sticks into each ice cube square. Place the tray in the fridge to chill overnight. The next day, pop out each hot chocolate stick and wrap them individually in the plastic wrap. Simple as that! Each stick makes one 8-ounce cup of hot chocolate. Just add to warm milk or water.
Estimated cost to make: $10 for two dozen
12. Photo Collage
Oh, memories! Here’s the perfect way to tug at your parents’ heartstrings this Christmas. A photo collage will be a treasured gift and is an easy way for you to make an affordable DIY Christmas gift too.
Items you’ll need:
- Photos
- Photo frame
- Double-sided tape
Here’s how to do it:
Look through the camera roll on your phone and pick a few photos you want to use. To bring your collage to life, order prints from your favorite photo printing company (make sure you check online for coupons).
Your local dollar store should have plenty of nice frames for you to pick from. Once you have your pictures and frame in hand, arrange the photos and stick them to the back of the frame with tape. Put the frame back together, tie a nice bow around it, and boom—you’re all done!
Estimated cost to make: $5–10
13. Front Door Welcome Mat
You know those clever doormats with the hip saying that everyone seems to have these days? They make a great gift, but you don’t have to pay a pretty penny for something people are just going to wipe their dirty shoes on. You can DIY that for at least half the cost. Just make sure you give yourself plenty of time to tackle this one.
Items you’ll need:
- Plain doormat
- Sponge paintbrush
- Black screen printing ink
- Painter’s tape
- Precision knife
Here’s how to do it:
First, hop on the computer and print out a catchy phrase in the perfect font. Stumped for ideas? You can’t go wrong with “Come Back With Tacos,” “Shut the Front Door,” or “You Shall Not Pass.” Pro tip: Try to print one word per sheet of paper.
Now, cover the entire mat in painter’s tape to keep the paint from coming into contact with the mat. Lay your words out and figure out where you want them placed.
Take the precision knife and cut out the letters, cutting through the painter’s tape so that when you remove the tape for each word, it looks like a stencil for you to fill in. Use the sponge brush and start lightly dabbing the paint to fill in the letters on the mat. You’ll want to do three coats here.
Let it dry overnight and you’ll have a fun DIY gift waiting for you in the morning!
Estimated cost to make: $10–15
14. Infused Syrups
Here’s one for the foodie on your list! They can add this syrup to flavor and sweeten their coffee, cake, waffles, oatmeal, yogurt or basically any beverage (it also works great with cold drinks since it blends well). Put it in a fancy bottle, and they’ll love having this sit out on their kitchen countertop.
Items you’ll need:
- 1 cup granulated sugar
- 1 cup water
- Pourable bottle
- Strainer
- Cinnamon, lavender, mint or any flavor you want to infuse it with
Here’s how to do it:
Combine the water and sugar in a saucepan and bring to a boil over medium heat until the sugar dissolves. Then reduce the heat to low and add in whatever flavor you want the syrup to be. Let the mixture simmer for two or three minutes, then remove it from the heat and let it cool.
Once the mixture has cooled off, go ahead and strain it so that those mint leaves or other solids you added don’t get poured into the bottle. Tie a festive bow or ribbon around your bottle, and you’re ready for gifting!
Estimated cost to make: $5
15. Box of Local Goodies
Give them a taste of the town! If you’ll be visiting nonlocal family or friends, this is a creative way to bring some of your own local city flare to them. Make a unique box of small gifts from your hometown and get ready to put a smile on their face.
Items you’ll need:
Anything you want!
Here’s how to do it:
Go around your town and gather up sweet and savory treats that represent your city. Make sure you throw in some fun tourist items like a postcard, keychain or coffee mug. Really, the only limit here is your imagination . . . and the budget. Dress up your items in a gift basket or decorative box and you’re good to go!
Estimated cost to make: $20
Get Started on These DIY Christmas Gifts
The next time you’re tempted to run to the mall to pick up a Christmas gift, fight the urge and take the memorable and meaningful route instead. Use these DIY Christmas gifts, or make up some of your own. There are plenty of ways to add a personal touch with DIY Christmas gifts. Plus, you’ll save money too!
But remember, just because you’re having a DIY Christmas doesn’t mean you can skip budgeting. You still need to set a budget for how much you’ll spend on all the materials you’ll need for your awesome DIY Christmas crafting station. Let our free budget tool, EveryDollar, help you keep track of everything from the wooden lollipop sticks to the double-sided tape and everything in between.
And if giving a DIY gift for Christmas makes you feel funny, it’s okay to pair it with a store-bought item too. Take a peek at the sales in our store and pick up a Christmas gift to go with your crafty creations. If you need a last-minute digital gift, give someone the gift that helps them take control of their money!
Did you find this article helpful? Share it!

About the author
Ramsey